Cossack top / light pad instructions.

Instructions for making a detachable top for your Cossack light hat. It also can be used as a light pad, provided that you make it with gel-covered LEDS.

Further to yesterday’s post about Michael Richard’s clever addition to the Cossack light hat, we have now completed the instructions for the detachable Cossack top/light pad which you can download below.

More on eye lights

Prof Glen Jeffrey at University College London released the results of a small study looking at the effect of red lights (deep red 670nm in particular).

Prof Jeffrey’s work has been previously described in this blog. He and his team have clearly shown that deep red light is good for eyes.

Remember, though, only use LED lights.

Never ever use lasers on your eyes!

You can make your own eye light using LED strip and an old pair of glasses – here’s a link to a recent post showing a home-made eye light.

Near-infrared LED strips

I’ve had a query about 12V near-infrared LED strip, especially 850nm LED strip.

You can see 850nm, but only just! 850nm is at the very edge of the eye’s ability to see. If you turn on the 850nm LED strip in a dark room, you will see a nice pale red glow. It’s red, but to our eyes it seems pretty dim. That’s good, that means it is working.

Continue reading “Near-infrared LED strips”

Cossack movie update

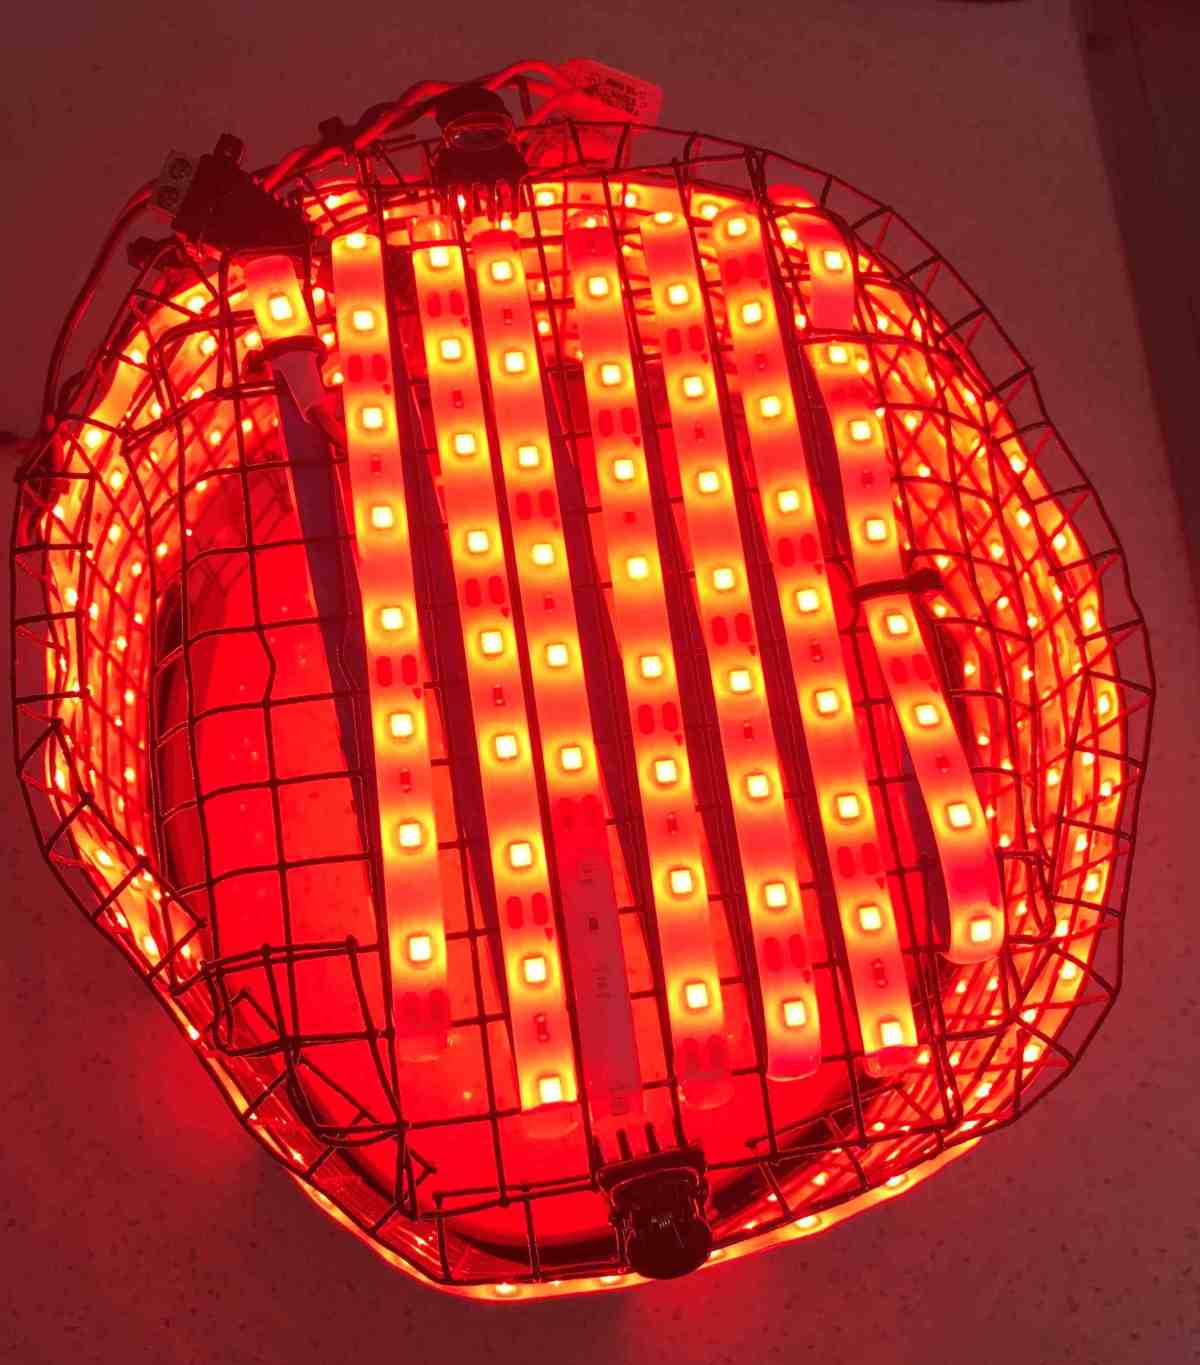
Make your own Cossack red light hat.

Making the Cossack Hat Frame*

Michael provided additional information for the DIY Cossack movie.

MEASURE THE CIRCUMFERENCE.

Take a generous length of the hat padding being used, and

  • Fit around the head like a head band.
  • Adjust to fit comfortably around the head and stick together with adhesive tape .
  • Don’t cut the foam yet!
  • Mark the join,
  • Add 2cm to make the band a bit looser, then
  • Cut the padding and tape the ends together to form a circle.

Adjust this head band for easy slip-on comfort and  for it to have a jaunty tilt towards the back of head. Once satisfied with this, measure the final length. This is the final basic circumference for the preparation of the wire mesh frame.

MEASURE THE HEIGHT OF THE HAT.

Like the circumference, this will depend on the individual.

Typically, 9 squares deep (=120mm) is a good height and allows for either an elastic suspension, or for some 6mm foam pads stuck to the top.

A simple paper or cardboard pattern helps to determine these dimensions.

  • Cut a paper pattern 150mm high and the above circumference.
  • Mark the 9 square(120mm) position, and
  • Tape the pattern into a hat shape.
  • Check the height to the top of the head, and
  • Cut the paper to the height needed to fit a padded top for the hat.

         * Wire ends are sharp and can cause cuts. So please wear gloves!