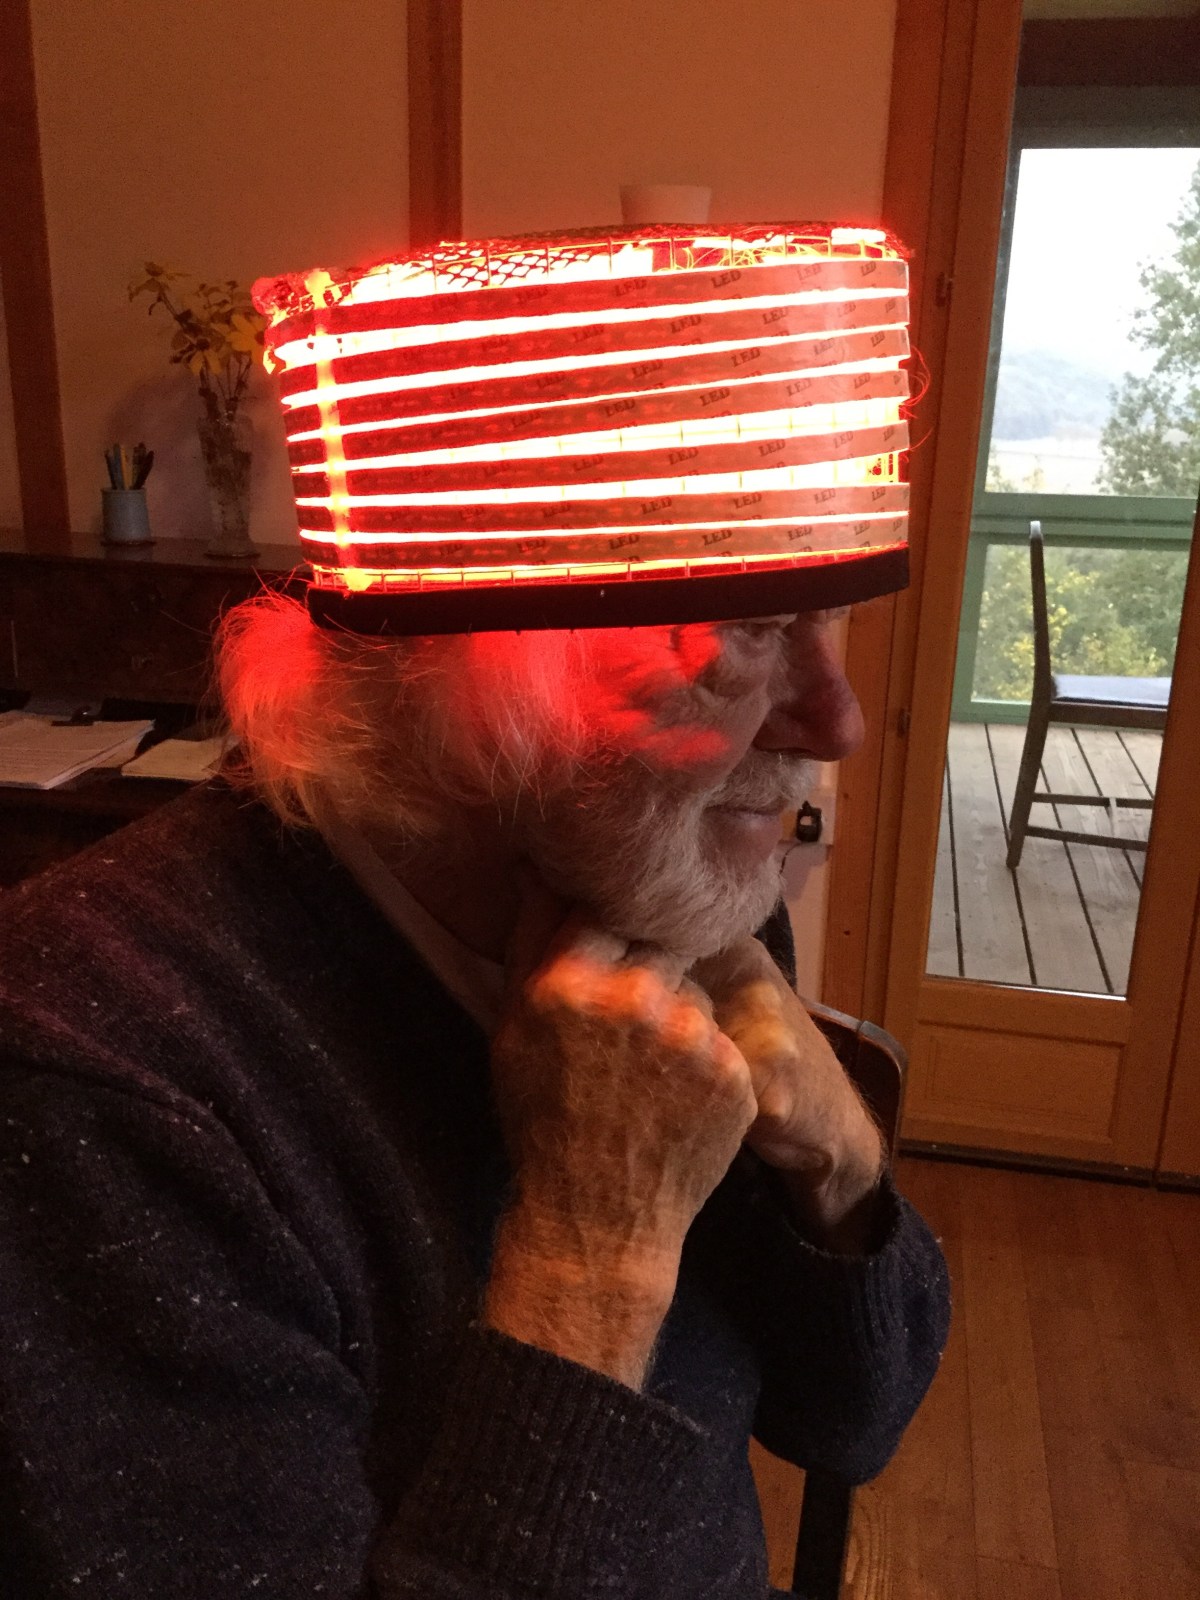
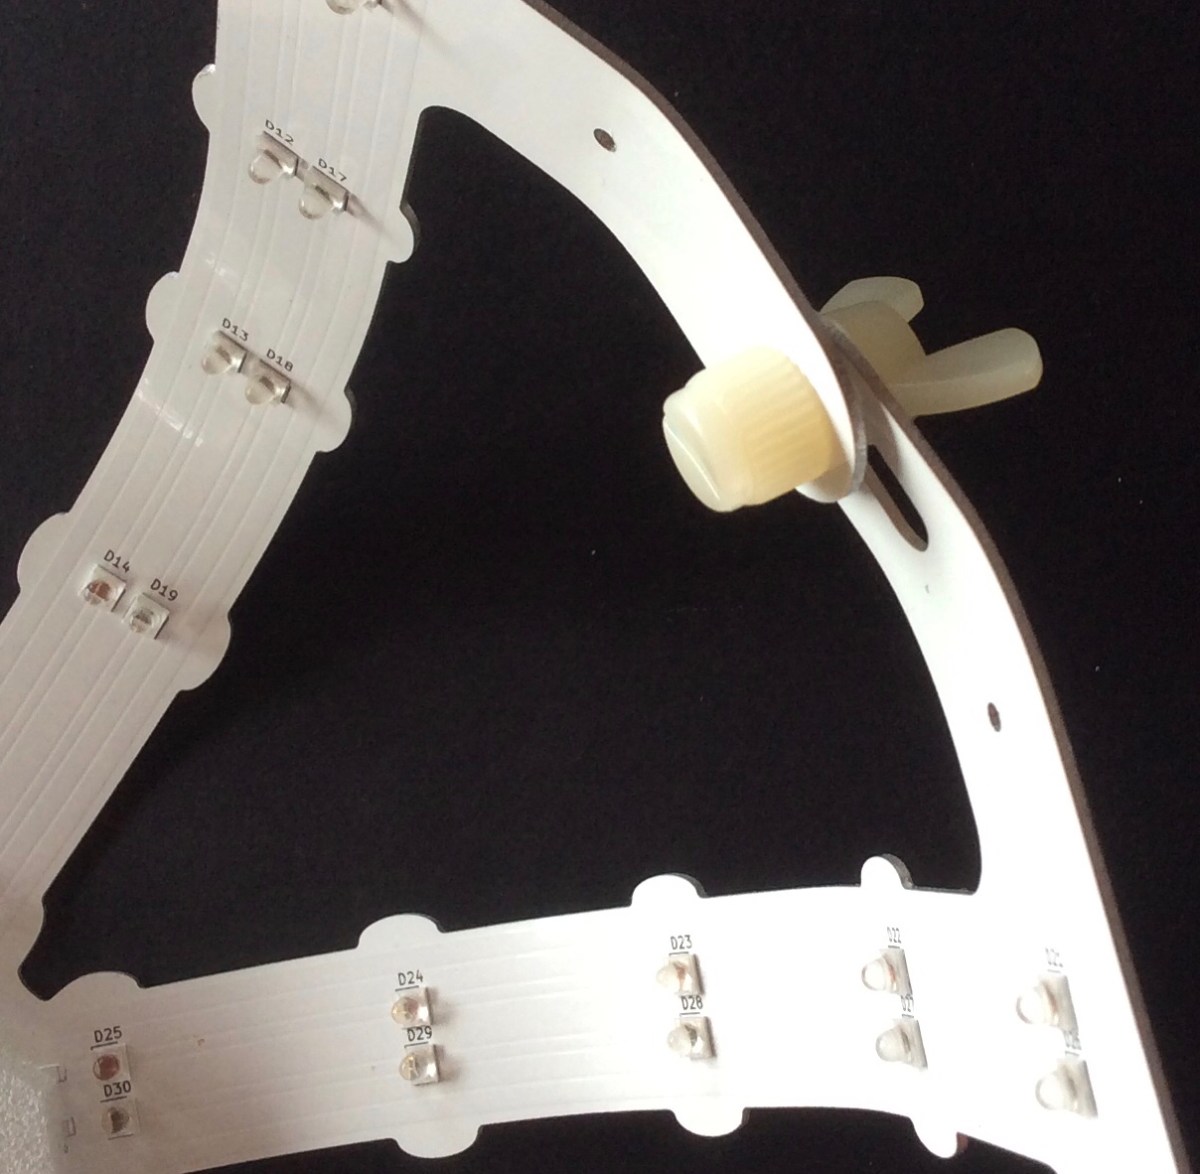
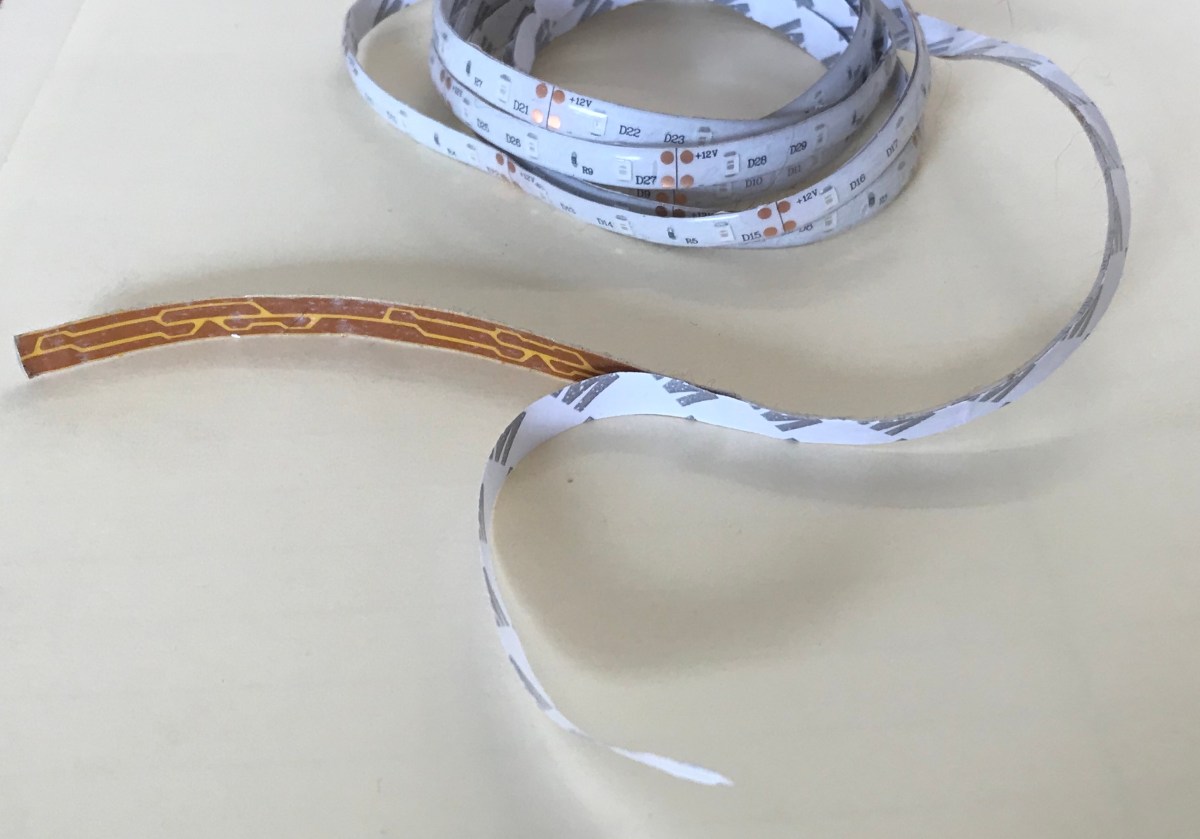
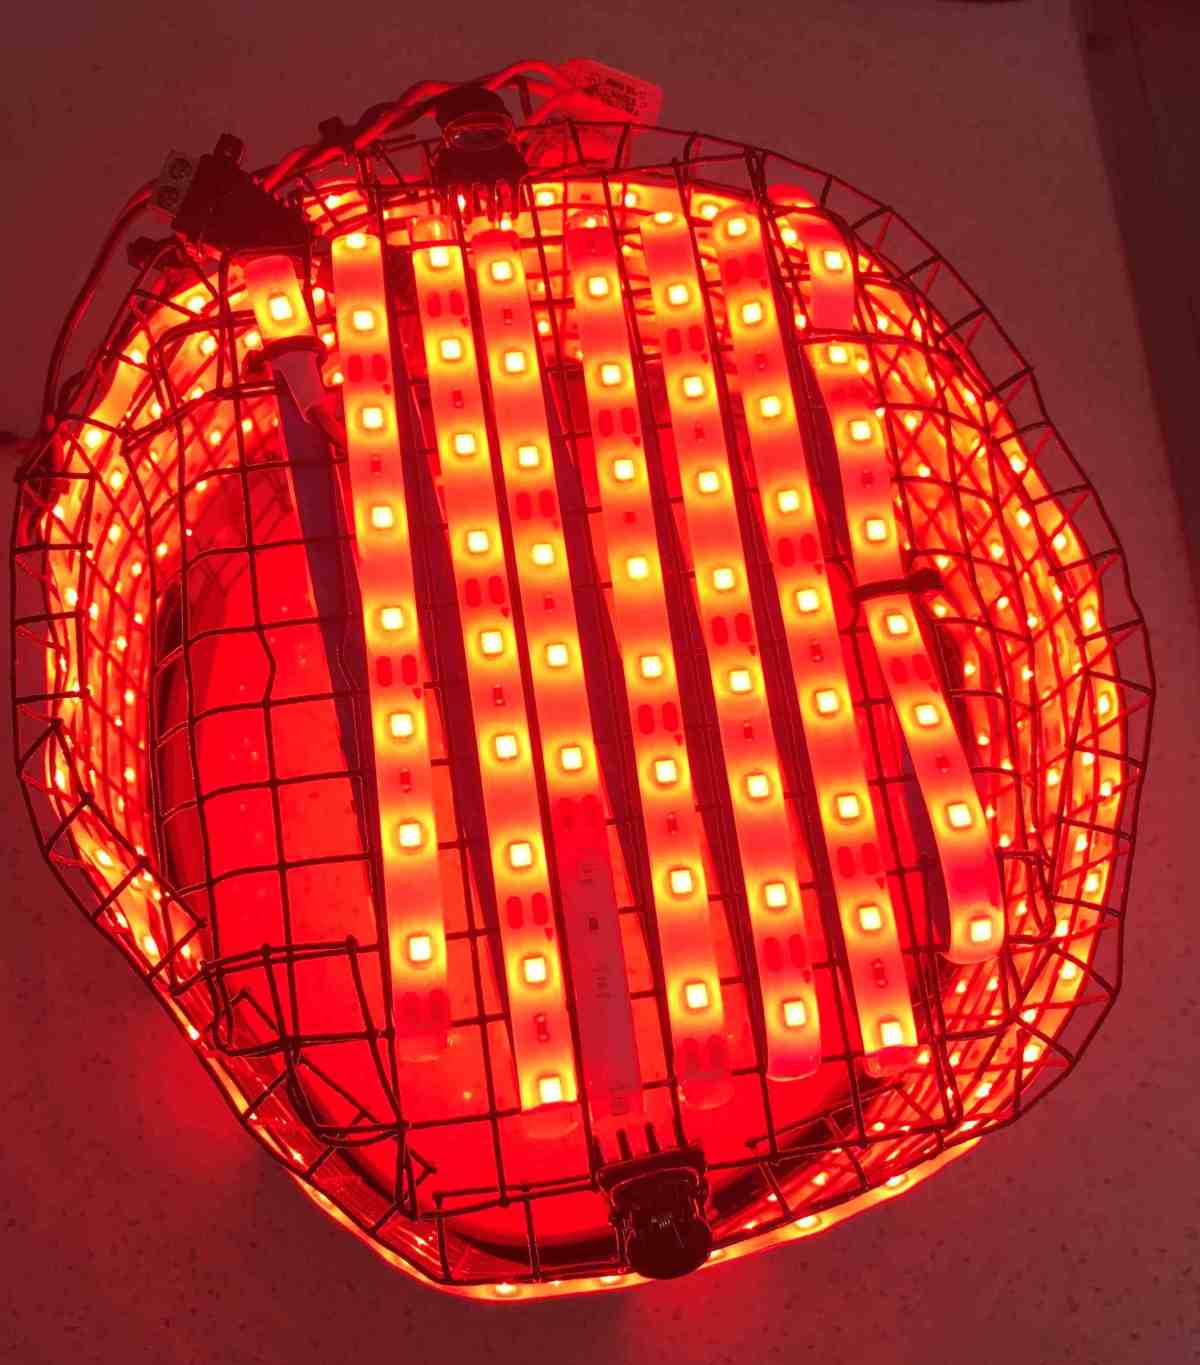
I’ve had a few people ask me whether to stop medication for Parkinson’s disease when starting transcranial lights.
Continue reading “PD, medication and lights”Tag: Cossack
A DIY light hat with a frame of plastic-covered wire mesh, designed by Michael, one of the founders of Light Ahead Inc.
LED strips
LED strips are great for DIY projects, such as Cossack light hats, lights for helping arthritic fingers, a LED light wrap for back pain and so on.
Here’s a photo of a Cossack light device – you can see the LED strip winding around and around the frame.

LED strips should only be used for DIY projects.
You can make your own light hat using LED strips:
- Cossack instructions
- Cossack DIY movie
- Cossack photos
- Why I recommend making a Cossack rather than an Eliza bucket hat.
If you are thinking of buying a light device, make sure that it is made with individual LEDs, not a LED strip.
A device with individual LEDs is more likely to last, it will have better heat management, and it is more likely to be value for money.
As an example, a few weeks ago I made a LED strip device for my back. It uses standard gel-covered LED strip – the sewing is a bit weird but it was functional and felt pretty nice on my back after a day in the garden.
When I first made it, all three LED strips worked very happily. But as of yesterday, one of the LED strips decided to stop working part-way along its length. LED strips do that – they just stop lighting up.

There’s not much I can do about the bung LED strip. I’ll continue to use my home-made device on my back for the moment, but if more of the LED strips decide to conk out, I’ll pull it apart and make another.
The lesson is clear, though.
If you are thinking of buying a commercial light device, avoid those made with LED strips.
Near-infrared LED strips
I’ve had a query about 12V near-infrared LED strip, especially 850nm LED strip.
You can see 850nm, but only just! 850nm is at the very edge of the eye’s ability to see. If you turn on the 850nm LED strip in a dark room, you will see a nice pale red glow. It’s red, but to our eyes it seems pretty dim. That’s good, that means it is working.
Continue reading “Near-infrared LED strips”Dr Ann Liebert – Parkinson’s SA
This afternoon researcher Dr Ann Liebert will be presenting early results of the clinical trial she has been running in conjunction with Parkinson’s South Australia. This study looked at the effects of red and near infrared light on people with Parkinson’s disease.
Dr Liebert will continue to work with Parkinson’s SA and as well, will start a new study In Parkinson’s patients in Sydney this month.
The Sydney study will use the Well Red coronet, so Ron and I are very chuffed.
The initial analysis of the SA study confirms the kinds of improvements we’ve been seeing in people using red and near infrared lights on a daily basis for Parkinson’s.
Dr Liebert has kindly agreed that I can put a summary of the early findings of her clinical trial on the blog.
It is fantastic to see research into this promising area happening in Australia. Prof John Mitrofanis and his team from the University of Sydney were the first to document the huge potential of red and near infrared lights in Parkinson’s disease.
We in Tasmania played around with LED strips, buckets and plastic-coated wire and showed that trans-cranial lights make a difference to people with Parkinson’s. Now Dr Ann Liebert’s clinical trials are helping to confirm and define the changes that red lights make.
Circuitry
Circuit diagrams for DIY red light hat.
This post comes courtesy of Michael, designer of the Cossack light hat and star of the DIY Cossack movie.
Michael has made available diagrams and information for those who understand these things.
Continue reading “Circuitry”Cossack movie update
Make your own Cossack red light hat.
Making the Cossack Hat Frame*
Michael provided additional information for the DIY Cossack movie.
MEASURE THE CIRCUMFERENCE.
Take a generous length of the hat padding being used, and
- Fit around the head like a head band.
- Adjust to fit comfortably around the head and stick together with adhesive tape .
- Don’t cut the foam yet!
- Mark the join,
- Add 2cm to make the band a bit looser, then
- Cut the padding and tape the ends together to form a circle.
Adjust this head band for easy slip-on comfort and for it to have a jaunty tilt towards the back of head. Once satisfied with this, measure the final length. This is the final basic circumference for the preparation of the wire mesh frame.
MEASURE THE HEIGHT OF THE HAT.
Like the circumference, this will depend on the individual.
Typically, 9 squares deep (=120mm) is a good height and allows for either an elastic suspension, or for some 6mm foam pads stuck to the top.
A simple paper or cardboard pattern helps to determine these dimensions.
- Cut a paper pattern 150mm high and the above circumference.
- Mark the 9 square(120mm) position, and
- Tape the pattern into a hat shape.
- Check the height to the top of the head, and
- Cut the paper to the height needed to fit a padded top for the hat.
* Wire ends are sharp and can cause cuts. So please wear gloves!